


Last updated: 11 August 2026 by the technicians at Max Appliance Repair Kitchener.
Good dishwasher installation prep is mostly done before the new unit ever leaves the box. Measure the opening, confirm the water, drain, and power connections match what the new machine expects, and get the old dishwasher out cleanly. Nail those three things and a swap that could drag into an all-day headache turns into an hour of tidy work. If you would rather have it handled start to finish, our dishwasher installation service in Kitchener covers the whole job, but plenty of homeowners here do the prep themselves.
This guide walks through exactly what to check and set up before install day, from the cabinet cutout to the shutoff valve you probably forgot you had. Skip the surprises, not the steps.
In this article
Measure the opening before you buy
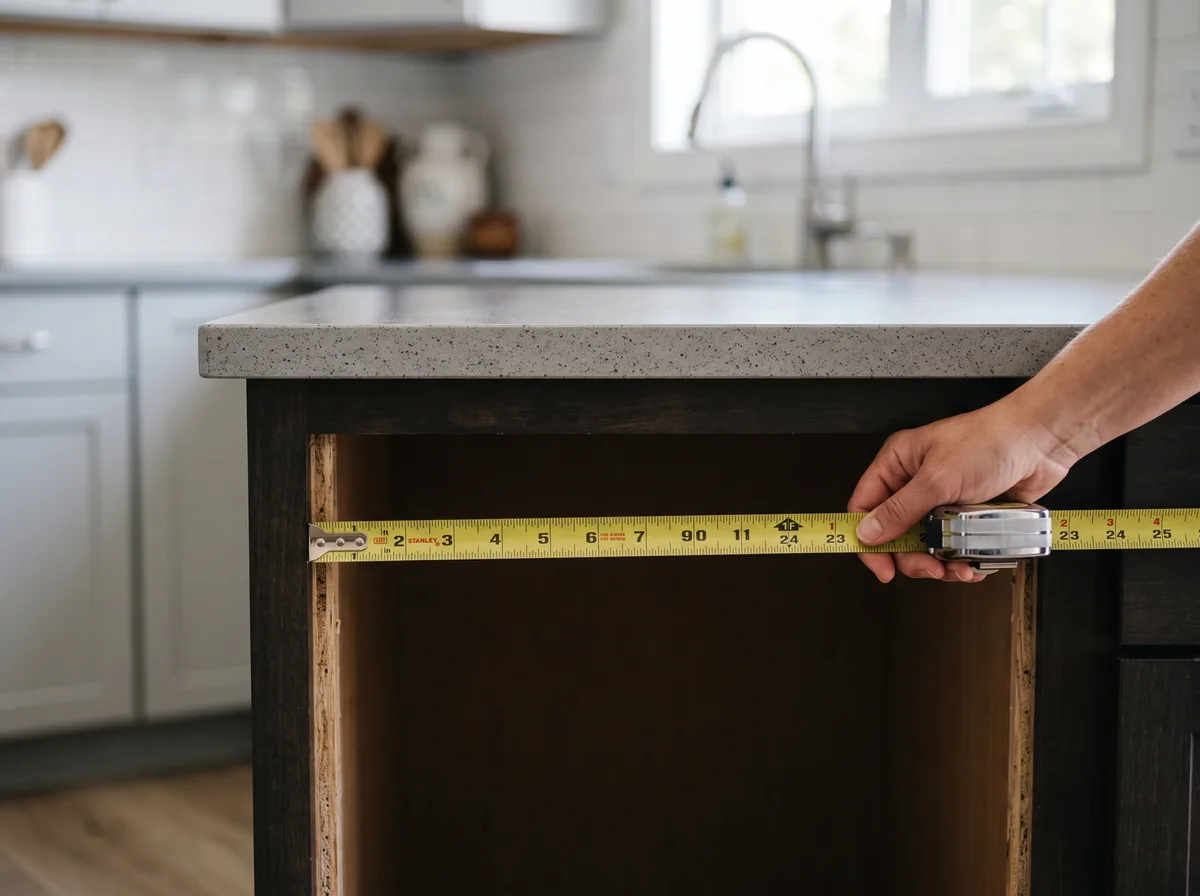
As part of your dishwasher installation prep, keep in mind that standard built-in dishwashers are designed to fit a 24-inch wide cabinet gap, but the real opening in your kitchen may not read exactly 24 inches. Cabinets settle, flooring gets added, and older Kitchener homes were not always built to today’s sizing. Measure the width, height, and depth of the space, and do it at more than one point because openings are rarely perfectly square.
- Width: measure between the cabinets at the top and the bottom. You need a true 24 inches for a standard unit.
- Height: measure from the finished floor to the underside of the countertop. Most units want 34 to 34.5 inches.
- Depth: standard is around 24 inches, but check that the door clears any handles or an island across from it.
- New flooring: if tile or laminate went in after the old dishwasher, the opening may now be too short to slide a unit out.
Check your water, drain, and power
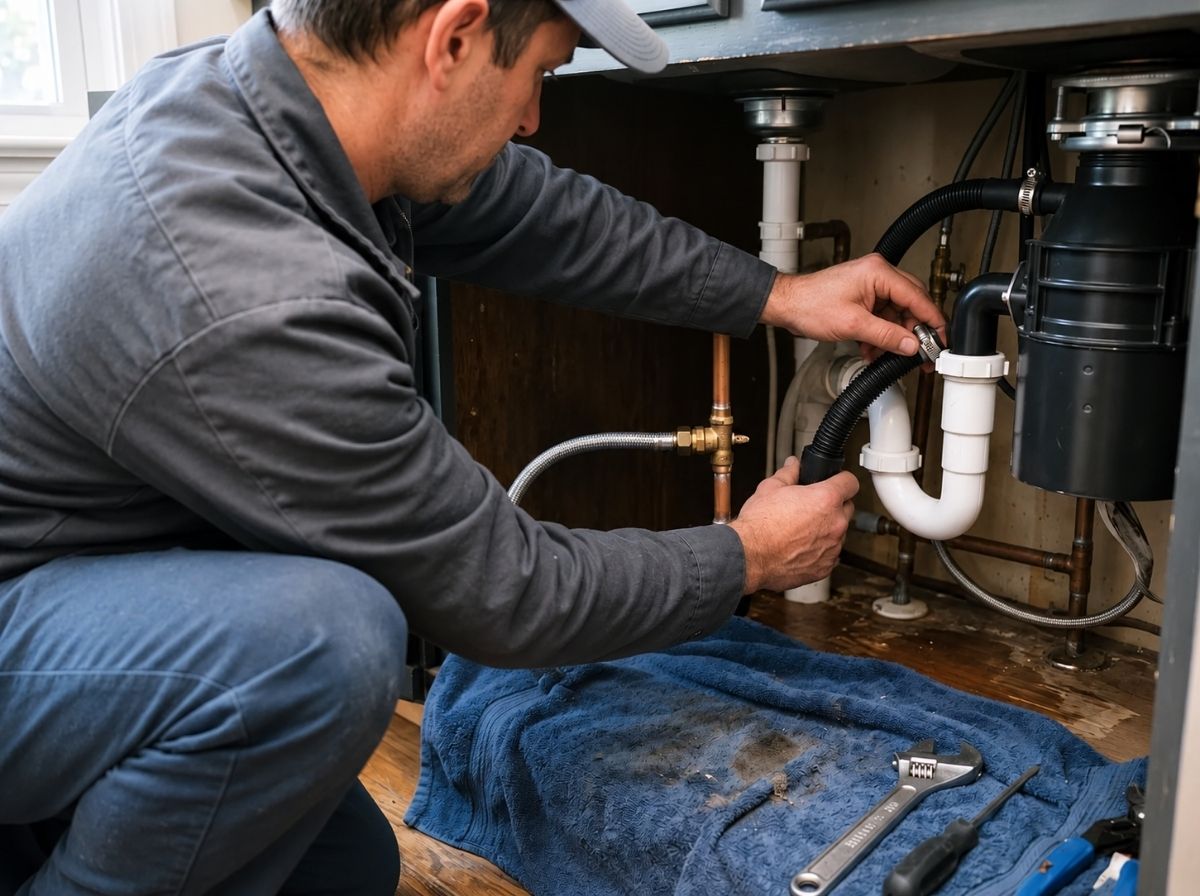
A dishwasher needs three hookups: hot water in, waste water out, and electricity. Most of the time, all three are already there from the previous unit, but this is exactly where solid dishwasher installation prep saves you. Find and test each one before the new machine shows up, so you are not discovering a seized valve with the old dishwasher already pulled out and water everywhere.
Water supply
Dishwashers run off the hot water line, usually tapped from under the kitchen sink. Look for a small shutoff valve on that line. Turn it off and back on once to make sure it actually moves and seals. Valves that have not been touched in ten years often stick or drip when you finally close them, and that is a fix you want to know about early.
Drain connection
The drain hose ties into the sink drain or the garbage disposal. If your kitchen has a disposal that has never had a dishwasher connected, the knockout plug inside the disposal inlet has to be removed first, or the dishwasher will not drain at all. This one trips up a lot of first-time installs.
Electrical
Some dishwashers plug into an outlet under the sink, others are hardwired into a junction box. Know which one you have. Follow the model’s installation manual and local electrical requirements. Any hardwired connection or circuit modification must be completed by a qualified electrician. For guidance on regulations and permits in Ontario, the Electrical Safety Authority is the organization to check with.
Did you know
A dishwasher does not connect to your cold water line like a fridge or a toilet does. It draws hot water so the detergent activates and the wash runs at the correct temperature. If your new unit fills but nothing gets clean, a mistakenly connected cold line is one of the first things a technician checks.
Removing the old dishwasher
- Turn off the breaker or unplug the dishwasher, close the hot-water shutoff and verify that power is off. The installer should verify and relieve supply-line pressure before disconnecting it.
- Disconnect the water supply line and the drain hose. Keep a towel and a shallow pan ready, because both hold water.
- Remove the two screws holding the dishwasher to the underside of the countertop, and adjust the leveling legs down.
- Ease the unit forward slowly. Watch that the hoses and wiring feed out cleanly and do not snag on the cabinet edge.
- Clean the empty cavity and the floor. This is the one moment you will ever have easy access to that space, so use it.
Dishwasher installation prep: the day-before checklist
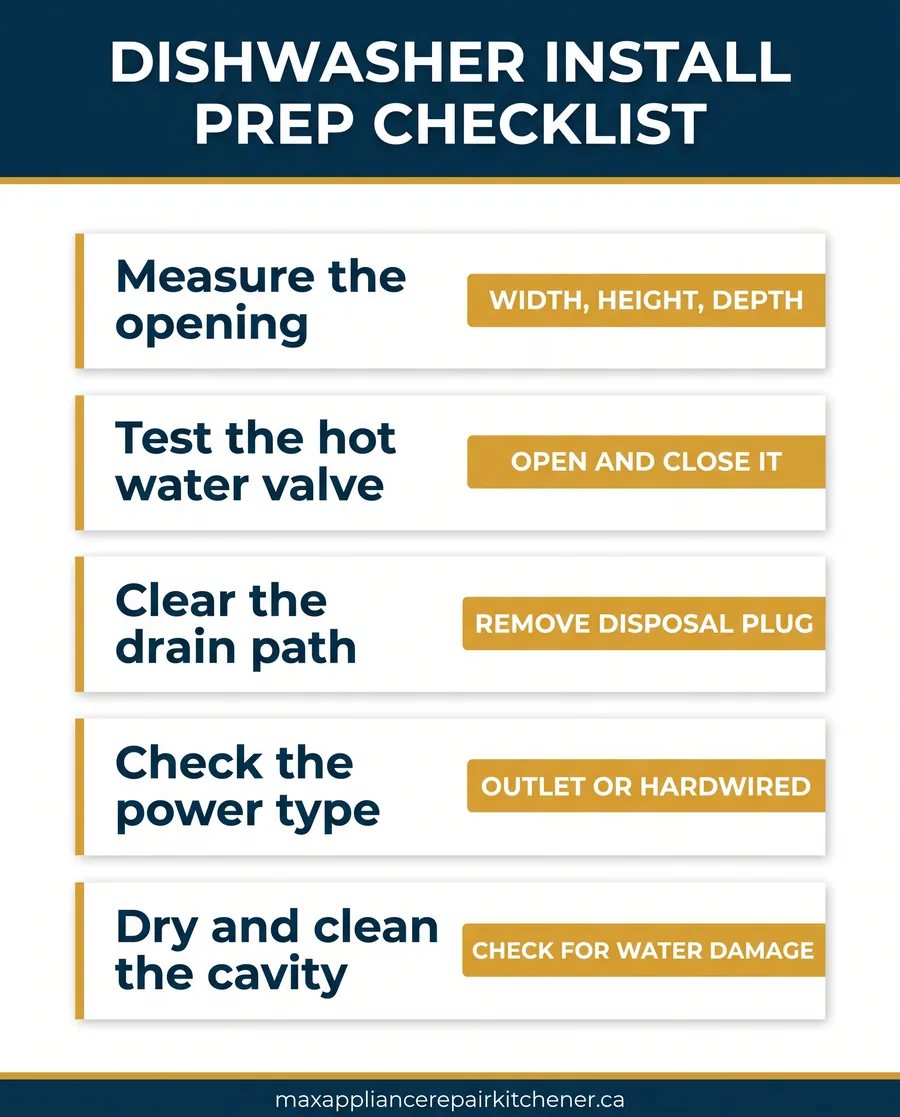
By the day before installation, the goal is zero surprises. Everything below can be sorted in advance, and each one is a common reason an install stalls halfway. Here is what to have ready and roughly what each item runs if you need a part or a hand:
| Prep item | Why it matters | Typical cost range |
|---|---|---|
| Hot water shutoff valve | Lets you isolate the supply without killing water to the house | $15 to $40 for the part |
| New water supply line | Old braided lines crack and are cheap insurance against a leak | $15 to $30 |
| Drain hose or clamps | Old hoses harden; a fresh clamp prevents drain leaks | $10 to $25 |
| Disposal knockout removed | Required for the dishwasher to drain into a disposal | Free, 5 minutes |
| Space measured and clear | Confirms the new unit fits and the cavity is dry | Free |
| Professional install | Full swap, hookups, level, test cycle, and haul-away | Varies by job |
Common snags that stall an install
Even with good prep, a few problems show up again and again in Kitchener kitchens. Knowing them ahead of time means you can head most of them off:
- The disposal knockout plug is still in place, so the new dishwasher fills but will not drain.
- A seized or dripping shutoff valve that has not moved in years and now will not seal.
- New flooring raised the floor, so the unit no longer clears the countertop when you try to slide it in.
- The old drain hose was not high-looped, so dirty sink water siphons back into the tub.
- The electrical connection is hardwired or requires circuit modifications; always follow the model’s installation manual and local electrical requirements. Any hardwired connection or circuit modification must be completed by a qualified electrician.
People often ask: Do I need a plumber and an electrician for a dishwasher?
For a straight plug-and-play swap where the water valve, drain, and outlet are all already there and working, most homeowners or an appliance installer can handle it. Always follow the model’s installation manual and local electrical requirements. Any hardwired connection or circuit modification must be completed by a qualified electrician, and you should call a plumber when the shutoff valve or main drain plumbing has to be replaced. A quick look during prep tells you which camp your kitchen is in.
When to bring in a technician
Call for help when the electrical is hardwired, when a valve or drain line needs replacing rather than reconnecting, when you find water damage under the old unit, or when the opening does not quite fit and something has to be adjusted. Those are the moments where a botched DIY costs far more than the install would have. Max Appliance Repair Kitchener handles dishwasher installs and the plumbing and leveling that come with them, and we test the first full cycle before we leave so you know it drains and seals properly.
Download the free quick guide
A one-page checklist to measure, test the hookups, and remove the old dishwasher before your new one arrives.
Download the free dishwasher installation prep checklist (PDF)
Frequently Asked Questions
Planning a new dishwasher and want the swap done cleanly the first time? Max Appliance Repair Kitchener installs and services dishwashers across Kitchener, Waterloo, and Cambridge. Book a dishwasher installation and we will handle the hookups, leveling, and the first test cycle so you know it runs right.
Need a technician in Waterloo Region?
Rather not touch the water line yourself? We do dishwasher installation and dishwasher repair Kitchener. We also cover appliance repair Cambridge. Call (519) 783-0985, 7am to 10pm, seven days a week.